
Welcome to YoKlinic! Follow this guide to get started and make the most of YoKlinic doctor account.
NB: Doctors not to share their personal information and contacts to patients
Things to Have Ready Before Registering
1. Sign Up
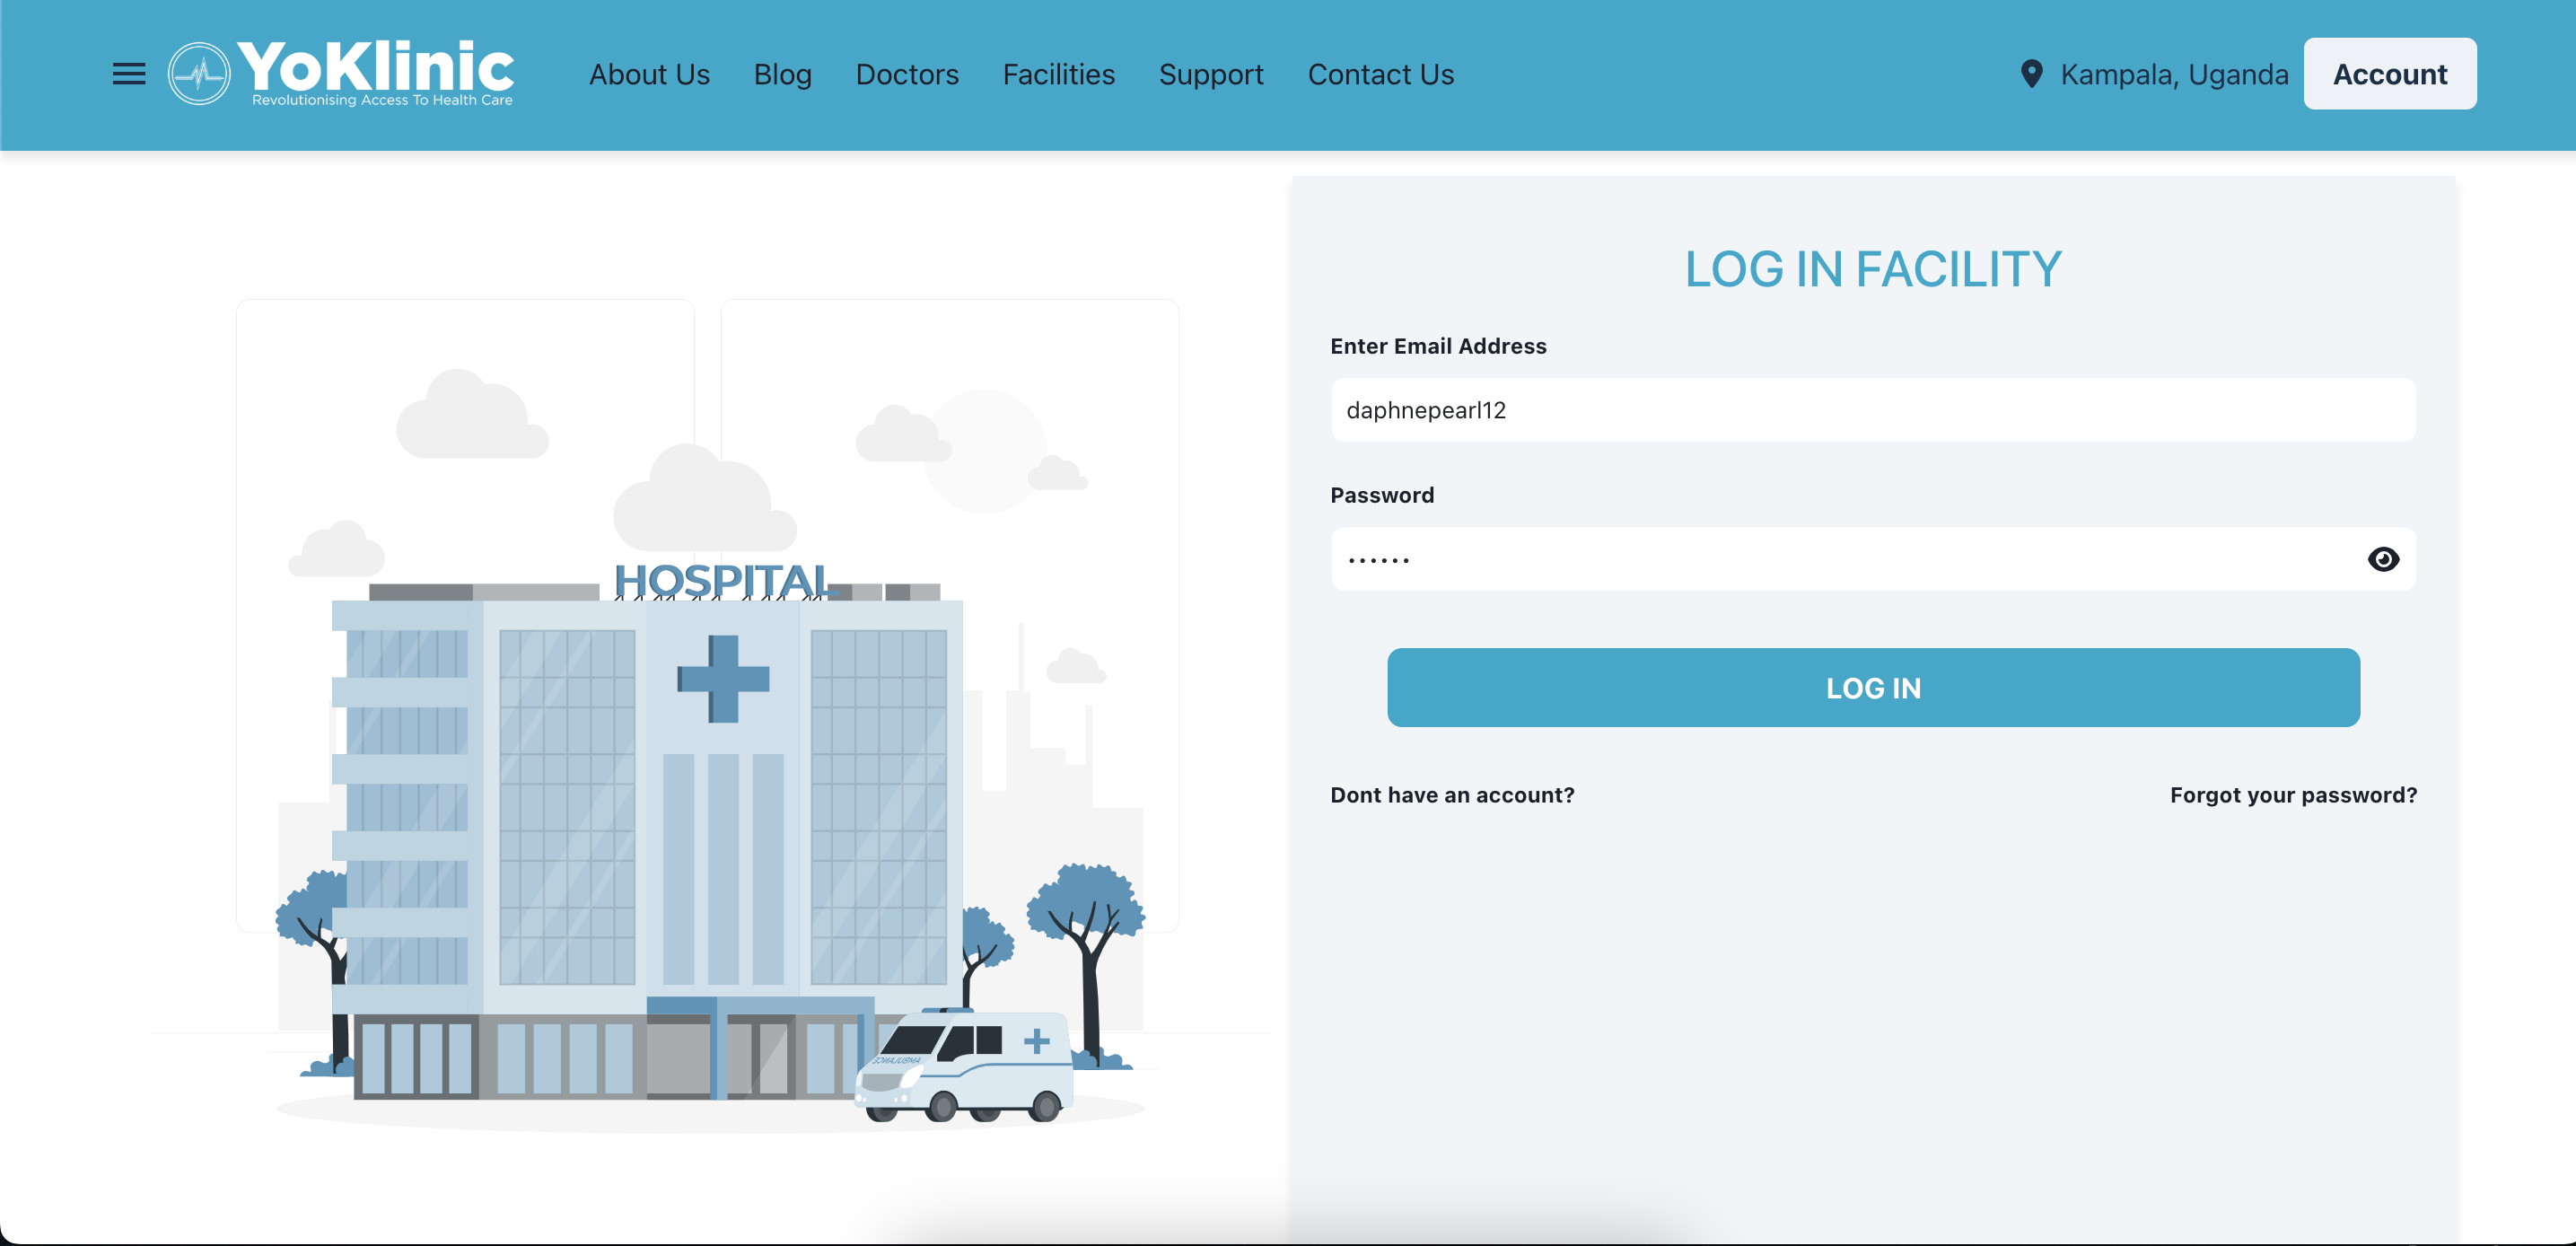
Head to the YoKlinic homepage and sign up by providing your personal information.
User Guide is attached here : link
Email Verification
Once you’ve signed up
- A verification link will be sent to your registered email address.
- Click the link to verify your account to log in to the dashboard.
2. Complete Your KYC (Know Your Customer)
To complete your KYC, log into the dashboard : https://www.yoklinic.com/doctor/auth/login
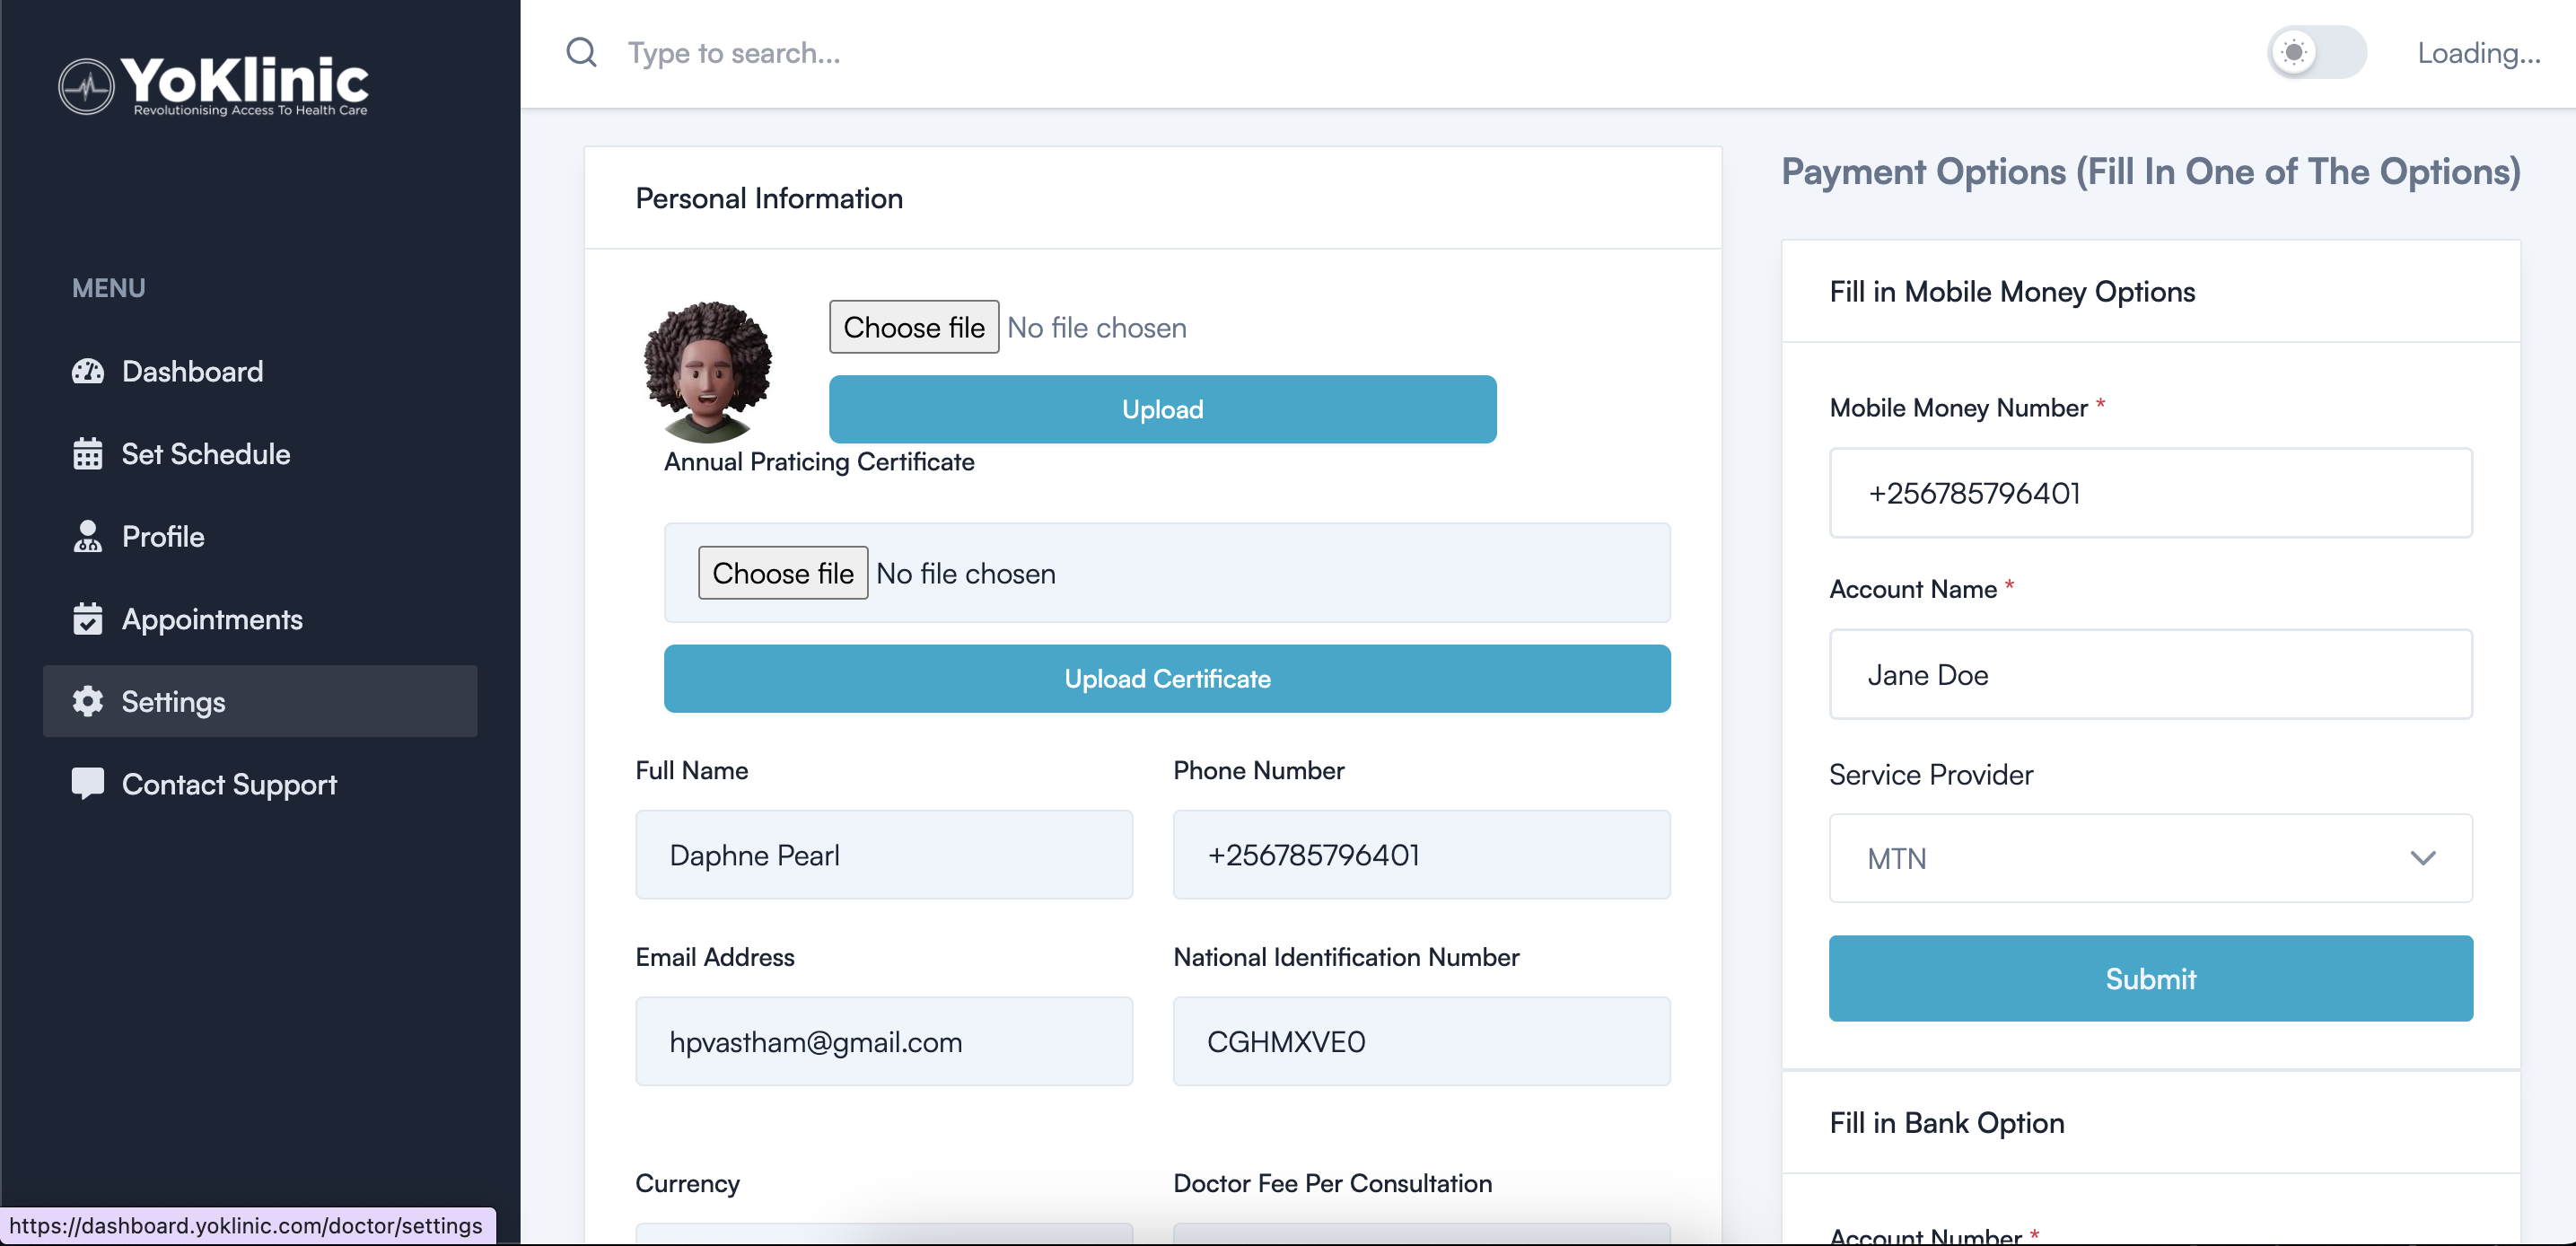
- Upload required documents such as your medical license and National ID.
- Verify your Annual Praticing Certificate Number
3. Profile Submission
After submitting your KYC and profile information:
- Your details will be reviewed by a YoKlinic verification officer.
- Upon approval, you receive an email from yoklinic admin informing you to set availability
4. Access Your Dashboard
Log in to access your Doctor Dashboard, where you can:
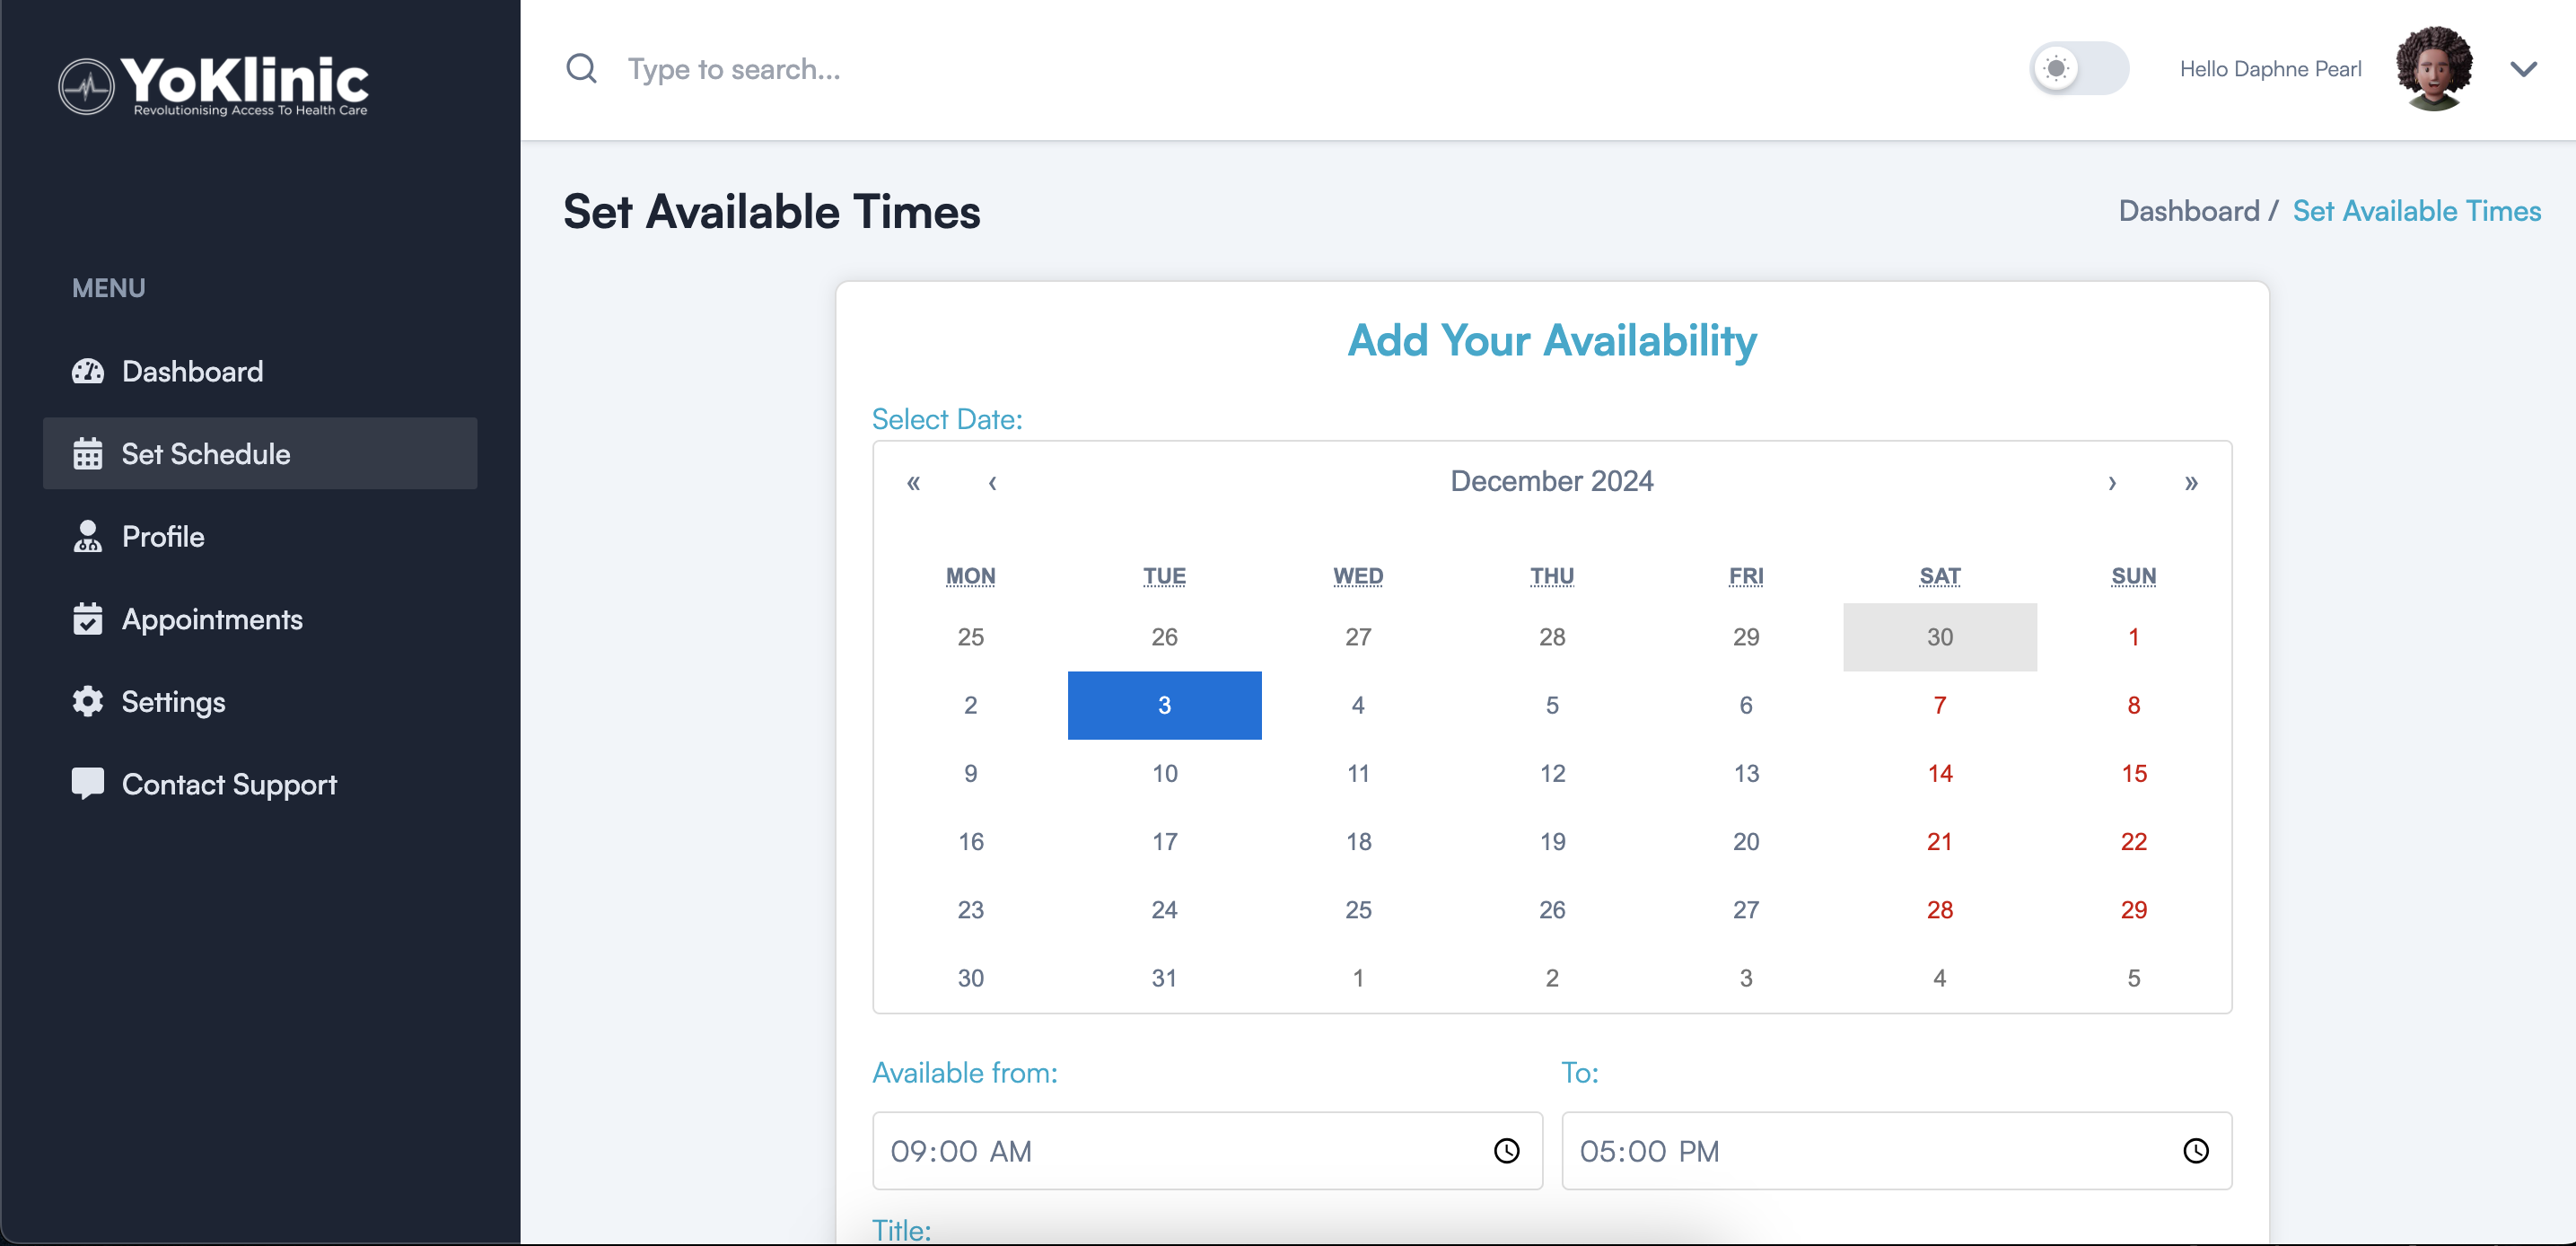
- Add your availability (times you’re free for appointments).
- View upcoming appointments.
- Edit your profile or update availability whenever needed.
5. Platform Listing
After your account is verified:
- Your profile will be displayed on the YoKlinic platform, making it visible to patients.
6. Consultation & Notes
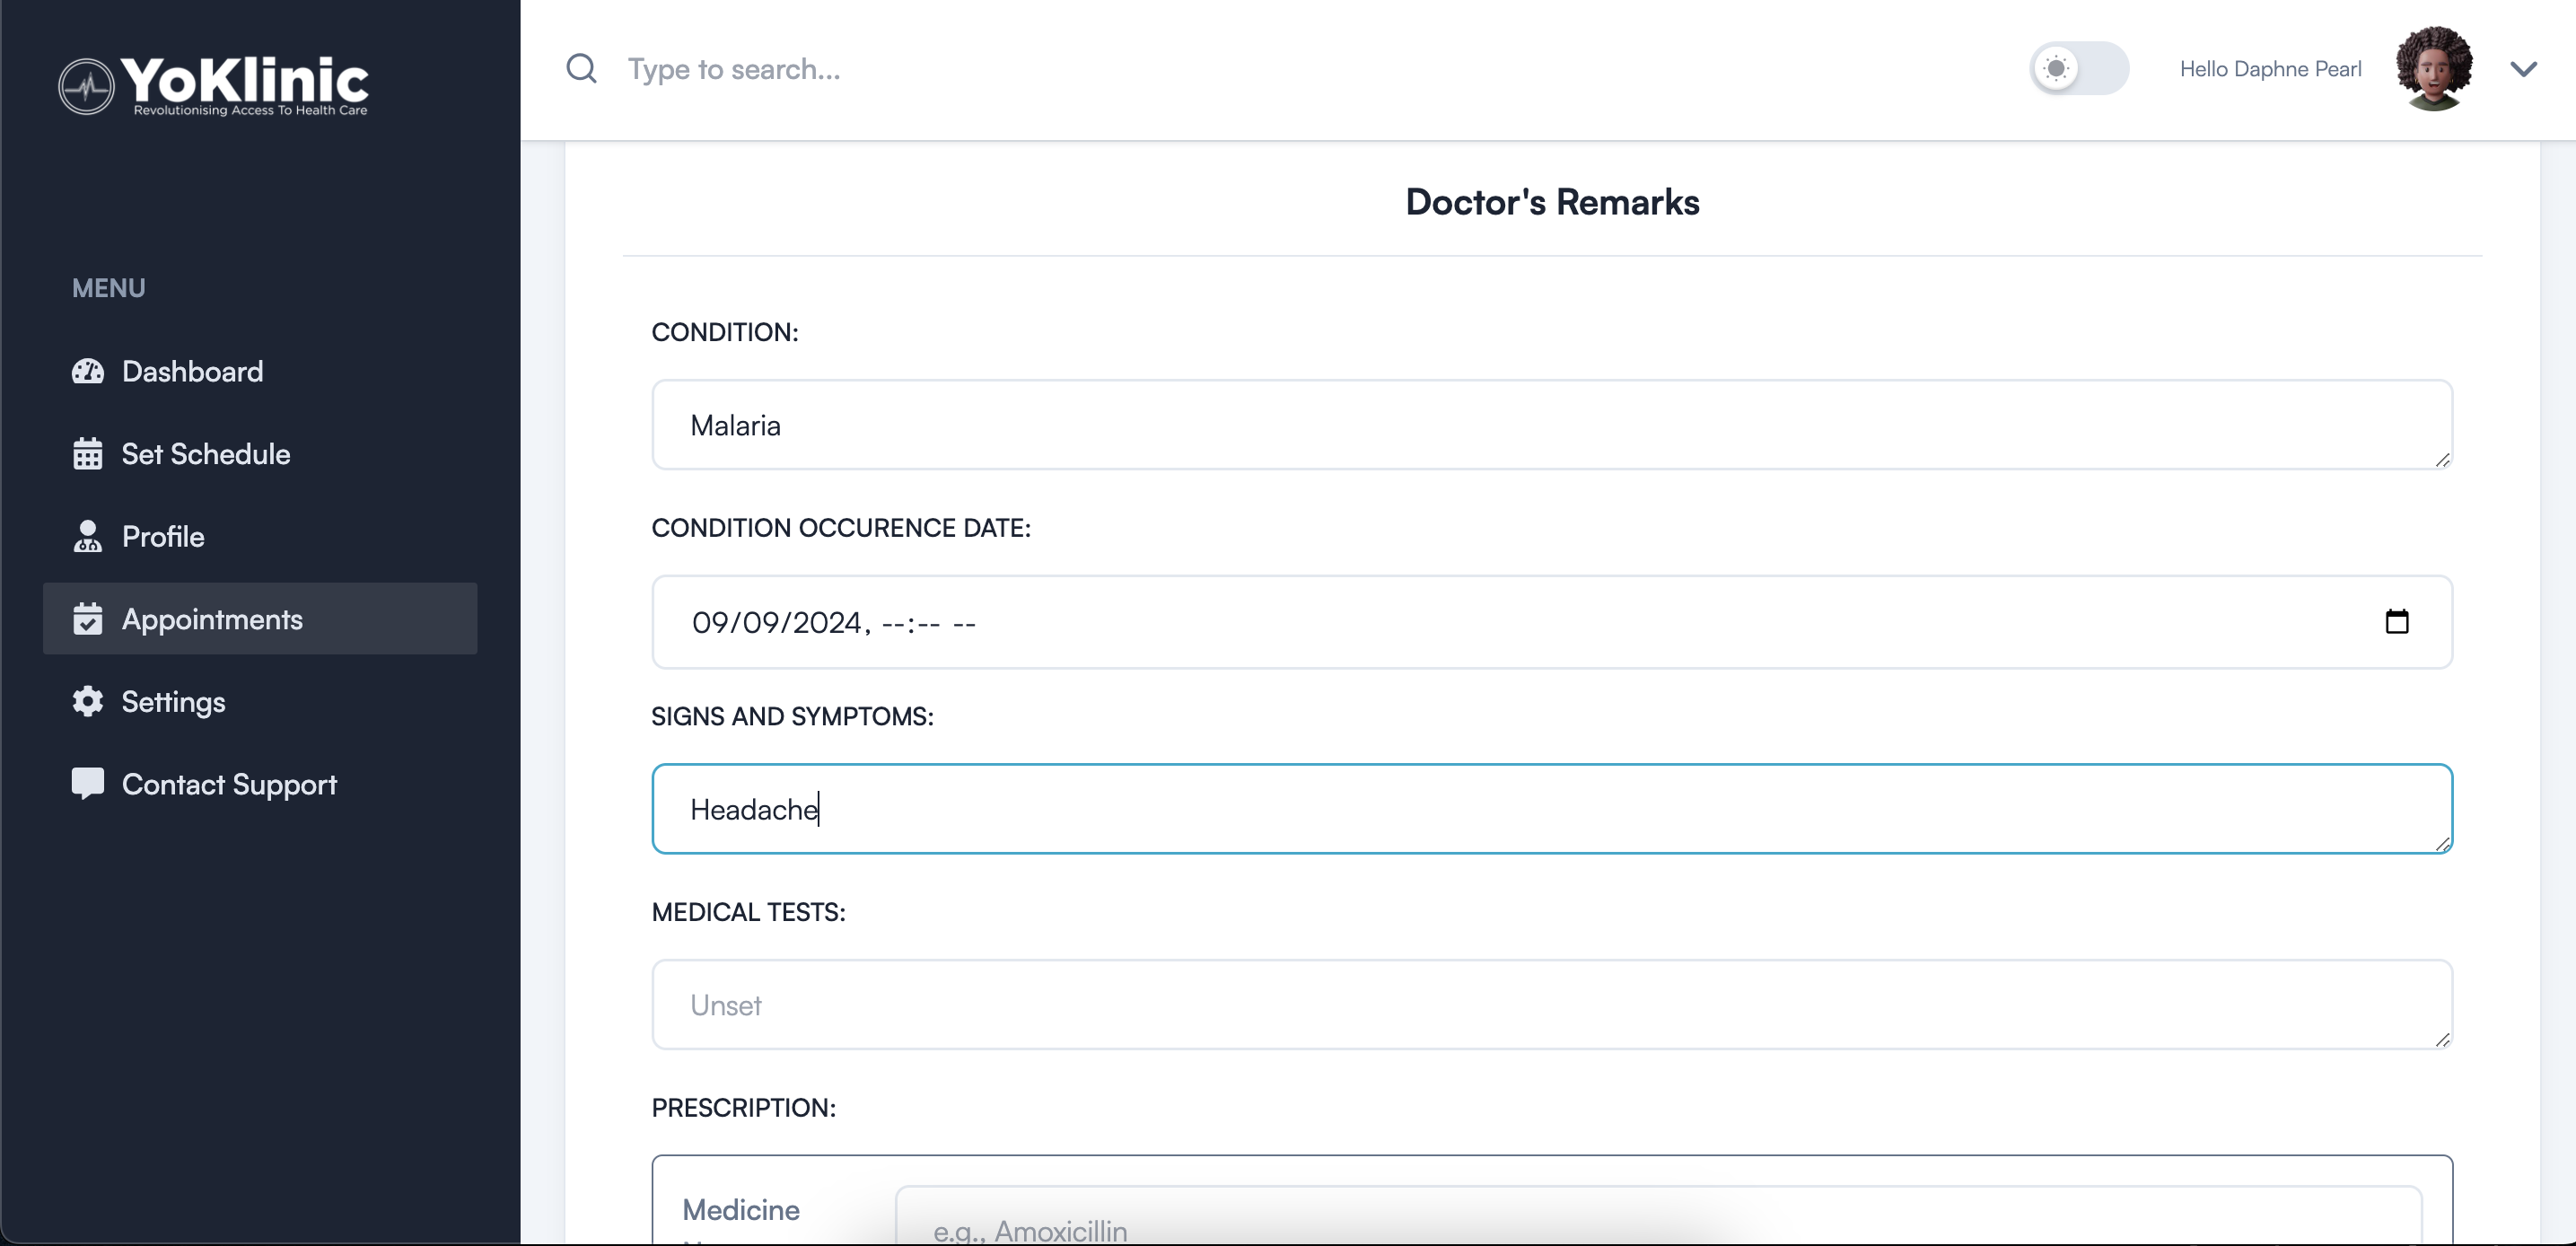
After consultations:- Record notes for the patient.
- These notes will be accessible to the patient through their dashboard for future reference.
7. Approve Appointment Requests
When a patient requests an appointment:- You’ll receive a WhatsApp message with a link to confirm your availability.
- Click the confirmation link to approve the appointment and notify the patient.
With these steps, you're all set to offer seamless consultations and manage your practice efficiently on YoKlinic! 🚀